How to Start Knitting: Your First Scarf in Five Evenings
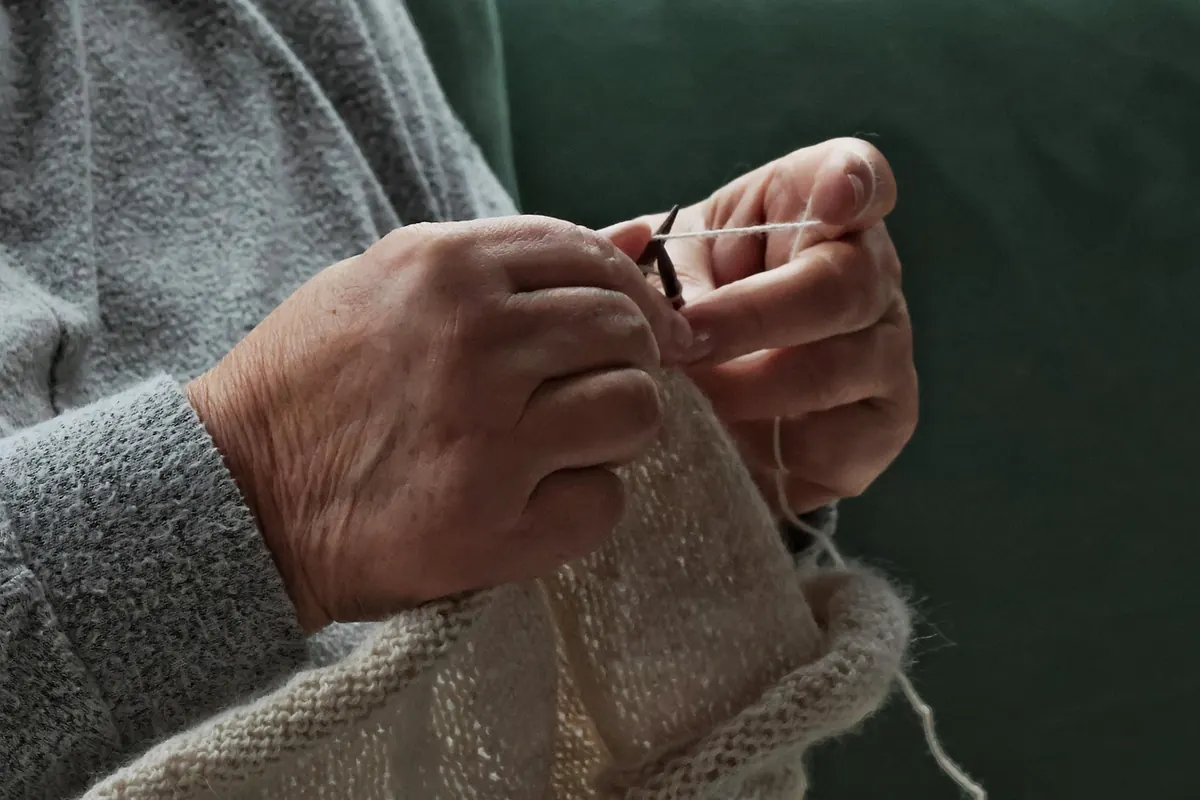
Knitting looks like a small magic trick: two sticks and a length of string turn into a scarf. It isn't magic. It's one stitch, repeated a few thousand times, and you can learn that stitch tonight. The plan below spreads the work across five evenings of about an hour each. No classes, no pressure, and at the end you have something warm that someone will actually wear.
Before Evening One: Gather the Right Supplies
Most beginner frustration comes from the materials, not the hands. Choose a yarn that is smooth, medium-weight, and light or bright in color, so you can see your stitches without squinting. Fuzzy yarns, dark yarns, and slick shiny yarns hide your mistakes instead of showing them to you.
For a first scarf, worsted-weight or bulky yarn is the kind choice. Bulky knits up fast; worsted is easier to read. Leave the lace and fingering weights for another year.
- Yarn: two to three balls of smooth worsted or bulky yarn, all from the same dye lot. A mismatched lot shows up as an obvious color shift halfway up the scarf.
- Needles: the size printed on the yarn label, usually somewhere between US 7 and US 11. Straight needles work fine, but a circular needle 24 to 32 inches long is often more comfortable because the weight of the scarf rests in your lap.
- Notions: a blunt tapestry needle for weaving in ends, small scissors, a few stitch markers, and a crochet hook in a similar size for rescuing dropped stitches.
Evening One: Cast On and Knit Your First Rows
Start with the long-tail cast on, which gives a stretchy, tidy edge. Pull a tail about four times the width you want your scarf — for an 8-inch scarf, roughly 32 inches of tail — make a slip knot, and cast on until the row measures about 8 inches across. That's usually somewhere between 20 and 30 stitches. Count twice. The first row is much easier when you know where it ends.
Now the knit stitch. Slide the empty right needle into the first stitch from front to back, wrap the working yarn around it, draw that loop through, and slide the old stitch off the left needle. One stitch done. Repeat to the end of the row.
Here is the good news about scarves: knit every single row and you get garter stitch, which lies flat, looks the same on both sides, and doesn't curl at the edges. You never have to purl. Aim for five rows tonight and stop while you still feel like you could do more.
Evening Two: Finding the Rhythm
Tonight is about repetition, not progress. Your hands are learning a motion, and the first twenty rows will look uneven — looser here, tighter there. That's normal, and it mostly disappears once the scarf is around a neck.
A few things that help:
- Don't strangle the yarn. Hold it lightly enough to slide through your fingers, and let the needle size make the stitch rather than your grip.
- Watch the stitch you're working, not the whole row. Mistakes sneak in when you look three stitches ahead.
- Resist the urge to yank the yarn tight after every stitch. The fabric will fight you all the way down the scarf.
Set a small goal: ten rows a night, or one podcast episode a night. Some people knit faster with a show on; others need quiet. Try both and notice which one keeps you calm.
Evening Three: Reading Your Knitting and Fixing Mistakes
By tonight you should be able to look at the fabric and see what's happening. In garter stitch, the front shows horizontal ridges of little bumps, and each ridge is two rows. Count the ridges and double the number to know how far you've come.
Mistakes will happen, and nearly all of them are fixable without unraveling the whole thing:
- Extra stitches: if the scarf suddenly widens and your count climbs, you probably knit into the space between two stitches, or made an accidental yarn over. Count your stitches at the end of each row for a while.
- Dropped stitch: stop right there. Put the crochet hook through the loose loop, catch the horizontal bar behind it, and pull the loop through, working back up one bar at a time.
- A small hole: usually a yarn over. If it's near an edge, you can close it later with the tapestry needle and let it go.
If you've lost more than a few stitches and can't see the fix, slip everything off the needle, unravel back to a row you trust, and slide the stitches back on. This gets easier every time, and it teaches you more than a perfect row would.
Evening Four: Length, New Balls, and Neater Edges
Keep knitting. A scarf should be roughly as long as the person wearing it is tall, or about 55 to 65 inches for an adult, shorter for a child and longer if you like a good wrap. Hold it up against yourself now and then rather than trusting the number.
When a ball runs out, join the new one at the beginning of a row, not in the middle. Leave a six-inch tail from the old yarn and a six-inch tail from the new, then carry on with the new ball. Those tails get woven in later. Knots buried in the middle of a scarf work loose and leave a lump against the neck.
For a tidier edge, slip the first stitch of every row instead of knitting it, then knit the rest as usual. The edge becomes a neat chain of bumps rather than a wobbly staircase. It's a small habit that makes the finished scarf look deliberate.
Evening Five: Bind Off and Finish
Time to get it off the needles. Knit two stitches, then lift the first one over the second and off the needle. Knit one more, lift again, and repeat to the end. Keep this last row loose; if it feels tight, switch to a needle one size larger just for the bind off. Cut the yarn, leaving a six-inch tail, and pull it through the final loop.
Weave in the tails with the tapestry needle, threading each one through the bumps on the back of the fabric for three or four inches, then doubling back in the other direction so it can't work loose. Trim close, but not flush with the surface.
Finally, spritz the scarf with water or give it a short soak, press it flat into shape on a towel, and let it dry. Read the yarn label first: wool takes gentle moisture well, while acrylic mostly just needs a wash and flat drying. Keep a hot iron well away from any yarn. This last step evens out uneven stitches and softens the whole fabric.
Wear It, Then Keep Going
You now own a scarf, and more usefully, you own the knit stitch. Almost everything else in knitting is a variation on what your hands learned this week: purling is the mirror of knitting, ribbing is the two of them taking turns, and a hat is a scarf with a seam and some decreasing at the top.
Pick your next project slightly harder than the last one and expect the first few rows to feel clumsy again. If your hands or wrists ache, put the work down for the night, stretch your fingers, and come back tomorrow. Slow evenings, repeated, are how every knitted thing gets made.
Photo: Tho-Ge / Pixabay